Note: All themes allow different levels of customization – header/logo, menus, background, etc. Once you have activated a new theme, you will see those options in the left menu of the dashboard listed under Appearance->Customize.


Select Appearance->Themes from the left menu
Scroll down to see the available themes. (BlogPresscustomers get access to more than 150 premium themes – absolutely free)
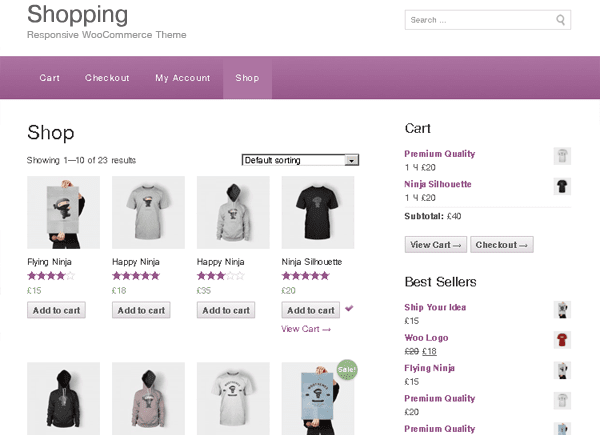
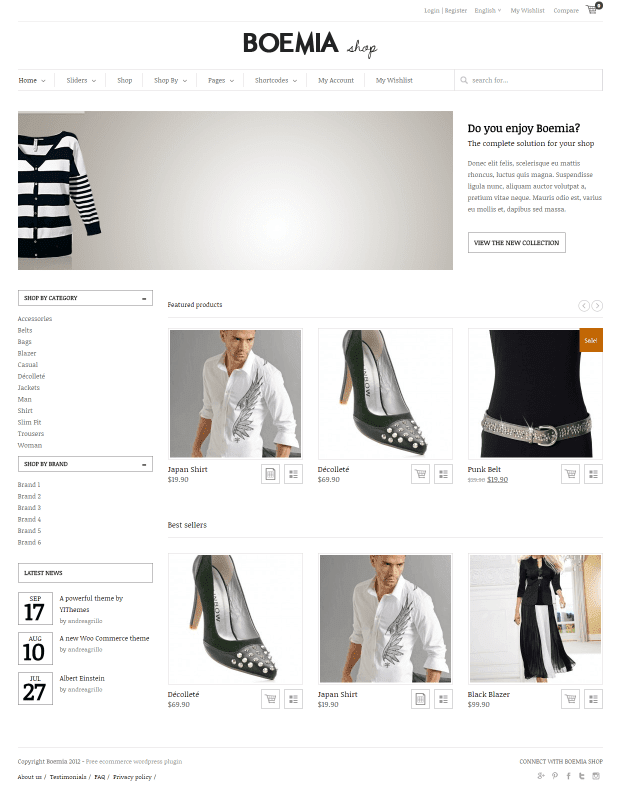
To activate a theme, click the activate link under the image. You may also preview the theme before activating it.
Important Notes About Changing Your Theme
Menus & Navigation
When you change to a new theme, you may need to “reactivate” the menu locations. The menus are still there, but the location sometimes gets lost…
Let’s say that I’m switching from the default TwentyFourteen theme to the StudioPress Magazine Pro theme (one of my personal favorites).
The following image shows the menus that I have set up…
After activating the Magazine Pro theme, my menus are gone. Where have they gone? (They haven’t really gone anywhere, they’ve just been deactivate – I’m hoping this gets fixed in a future release of WordPress :))

Here’s how to reactivate the menus. (These instructions assume that you have created at least one Menu)
From your blog dashboard,
- Select Appearance->Menus from the left menu.
- Select the “Manage Locations” tab at the top.
- Select the desired menu from the dropdown list. (Most themes have 2 menu locations, but some only have 1)
- Save your changes

Now the menus are back!
I ABSOLUTELY love StudioPress Themes! But there is one gotcha the very first time you switch to a StudioPress theme…
StudioPress Notes
The first time a StudioPress theme is activated, all of the widgets in the Primary SIdebar widget area get moved up to the Header Right widget area. This makes the site look REALLY broken… But don’t despair! It’s an easy fix.
Here’s how to it.
You may see something like this…

To fix this, you’ll need to move the widgets from the Header Right widget area to the Primary Sidebar widget Area.


